
Robert Herrick (1591-1674)

The daffodil is an attractive trumpet shaped flower that blooms in spring. They have six petals around a trumpet. In the middle of a daffodil there is a trumpet that can be yellow or orange in colour.Inside the trumpet there are six stamen and on the top of the stamen is the pollen.The wind blows the pollen on to the stigma which is very sticky.
by Joyce

The Pollination of the Daffodil
If you open up the trumpet you can see ths six stamen and in the middle you can see a long spike called the stigma.The top of the stigma is sticky. To start the pollination of a daffodil you need a flower. The pollen is on the stamen of the daffodil. When the wind starts to blow the pollen on the stamen blows onto the stigma. The stamen of the daffodil is the female and the stigma on the daffodil is the male. the pollen in any flower is always yellow. Once the pollen has landed on the stigma it travels to the carpel and that is where the seeds begin to grow.
You can grow daffodils from this seed but it would take you several years.
Here are two activities that will help you learn more about the parts of a flower.
If you would like to take a flower apart and put the pieces into the correct box. Click here and then click on the word label to label all the parts of a flower.
Diagram by Sophie


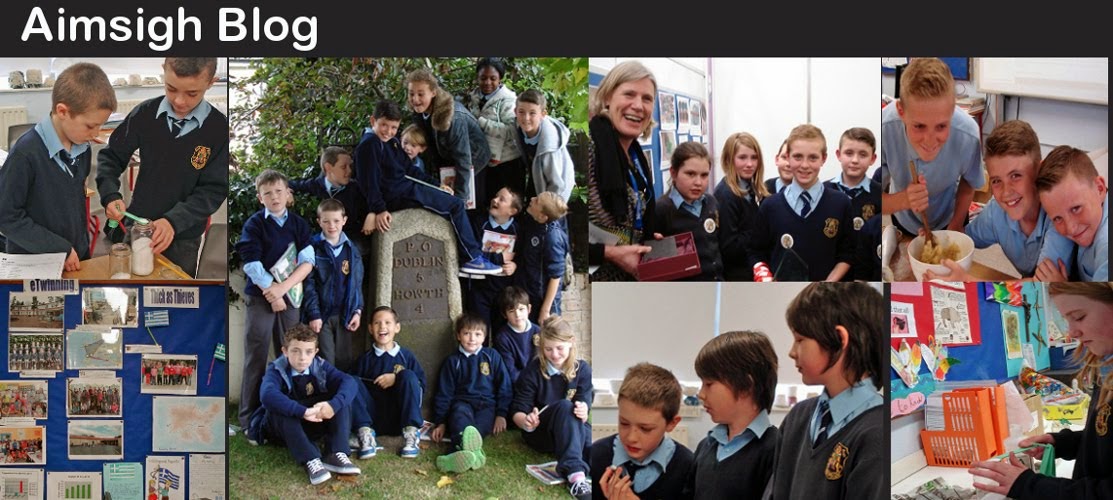
Art work by
Warren, Seán, Joyce, Sophie,Jonathan, Killian, Jamie and Ryan.